

本文介绍如何从ESXi 8.0 U1 (ESXi 8.0.1 build-21813344)升级到ESXi 8.0 U3.
这次我们用最简单的办法,就是通过命令行CLI,用离线升级包的方式来升级ESXi 8.0 U3.
核心命令为:esxcli software profile update -d -p
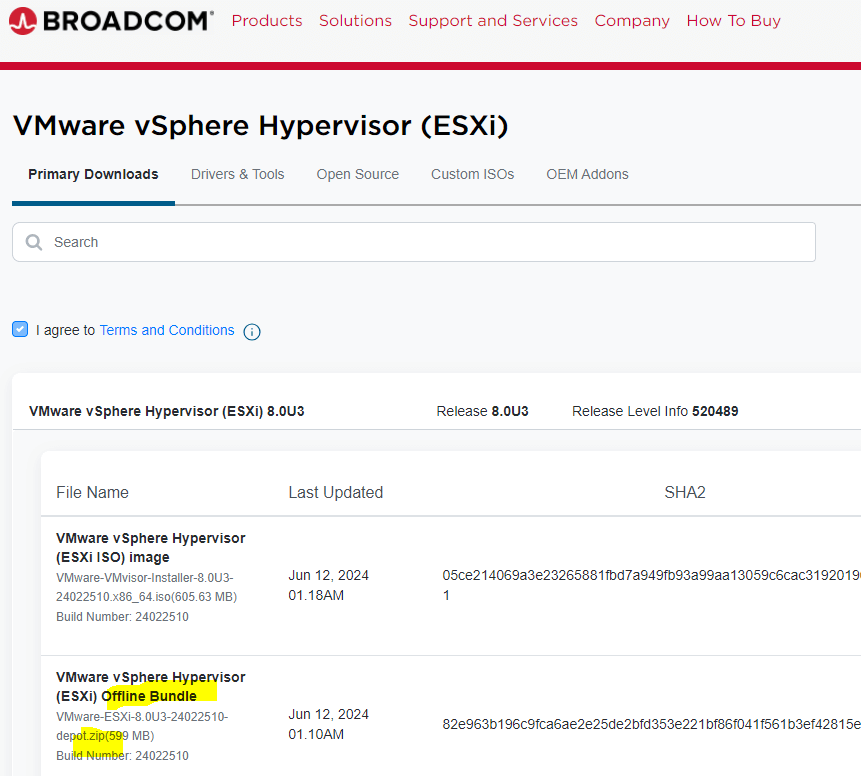
1. Broadcom官网下载好ESXi 8.0 U3的升级包
注意:要选ZIP格式的离线包,而不是ISO镜像
2. 上传ESXi升级包到ESXi上的datastore里
用winscp等工具上传到任一datastore
3. SSH进ESXi,切换到升级包的目录
注意:建议用profile update而不是vib update,详细命令为esxcli software profile update
4. 命令查看ESXi安装包的profile
esxcli software sources profile list -d详细命令为:
esxcli software sources profile list -d /vmfs/volumes/TrueNAS_datastore/VMware-ESXi-8.0U3-24022510-depot.zip
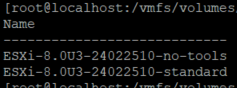
我们可以看到两个profile名字:
- ESXi-8.0U3-24022510-no-tools
- ESXi-8.0U3-24022510-standard
我们准备会用第二个standard的版本
5. 命令升级ESXi 8.0 U3
esxcli software profile update -d -p- -d 是路径,必须为升级包的完整路径
- -p 是profile名字,参考第四步。我们的profile名字为ESXi-8.0U3-24022510-standard
完整命令为
esxcli software profile update -d /vmfs/volumes/TrueNAS_datastore/VMware-ESXi-8.0U3-24022510-depot.zip -p ESXi-8.0U3-24022510-standard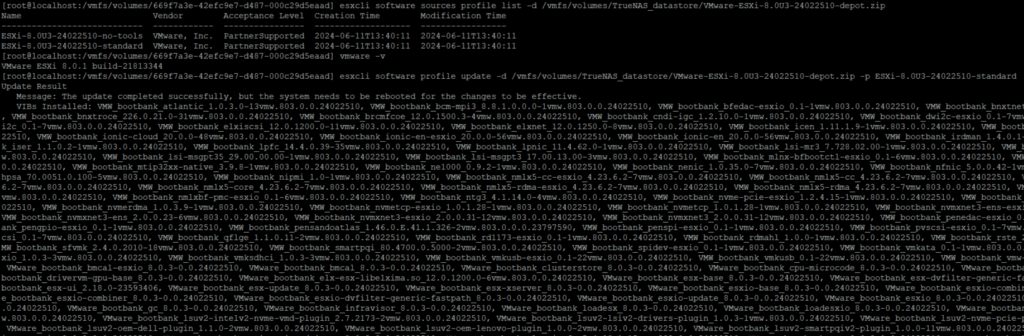
稍等一会后,我们可以看到以下信息,ESXi升级成功。
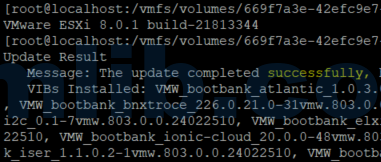
Message: The update completed successfully, but the system needs to be rebooted for the changes to be effective.
6. 重启ESXi,升级新版本生效
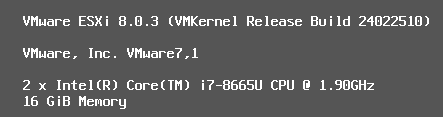
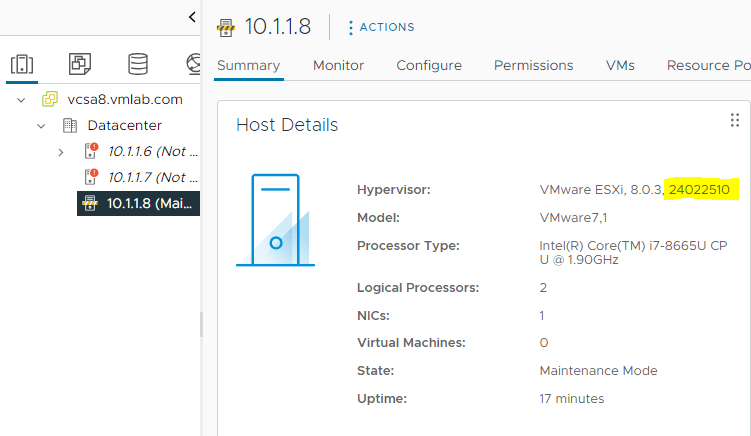
重启回到DCUI,看到ESXi已经成功升级到了最新的ESXi 8.0 U3 版本号24022510


 VM技术助理