

In virtualization management, VMware Workstation and ESXi are commonly used platforms. Many IT operations teams need to migrate VMs between these two environments—for example, for local development and testing, or to deploy virtual machines to more powerful ESXi hosts. This article introduces how to connect to a remote ESXi host from VMware Workstation and provides a detailed guide on migrating virtual machines from ESXi to Workstation or uploading local VMs back to the ESXi host. We’ll also address some common migration issues to help you manage virtual machines more efficiently.
- How to connect Workstation to ESXi
- How to migrate a VM from ESXi to Workstation
- How to upload a VM from Workstation to ESXi
Connect VMware Workstation to a Remote ESXi Host
Step 1: Download and install VMware Workstation on your PC.
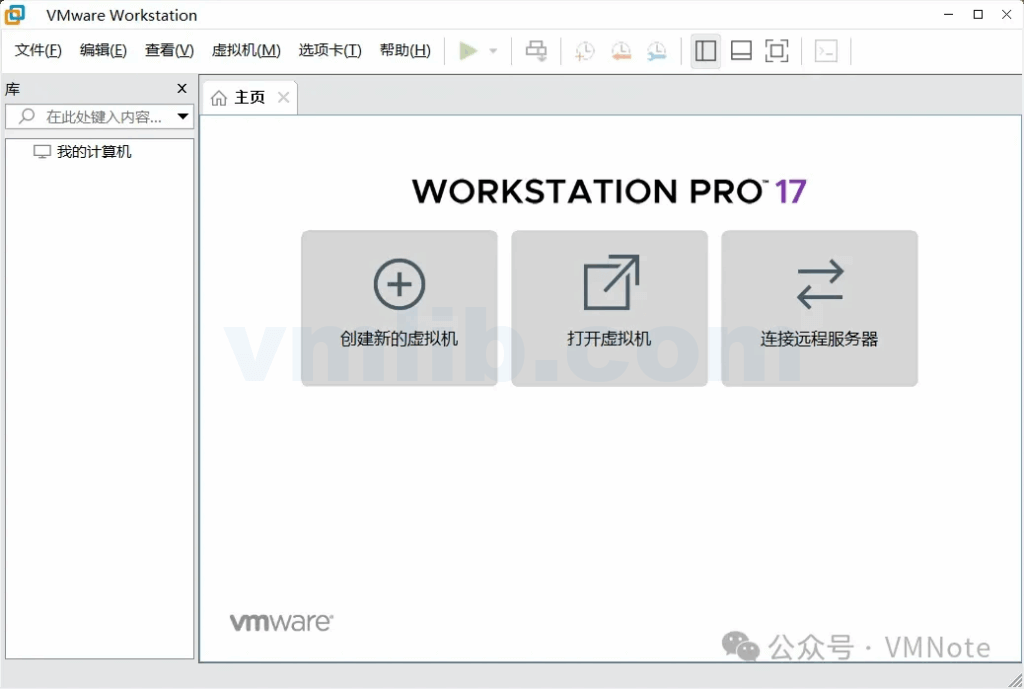
Step 2: Open VMware Workstation and click Connect to Remote Server on the homepage.
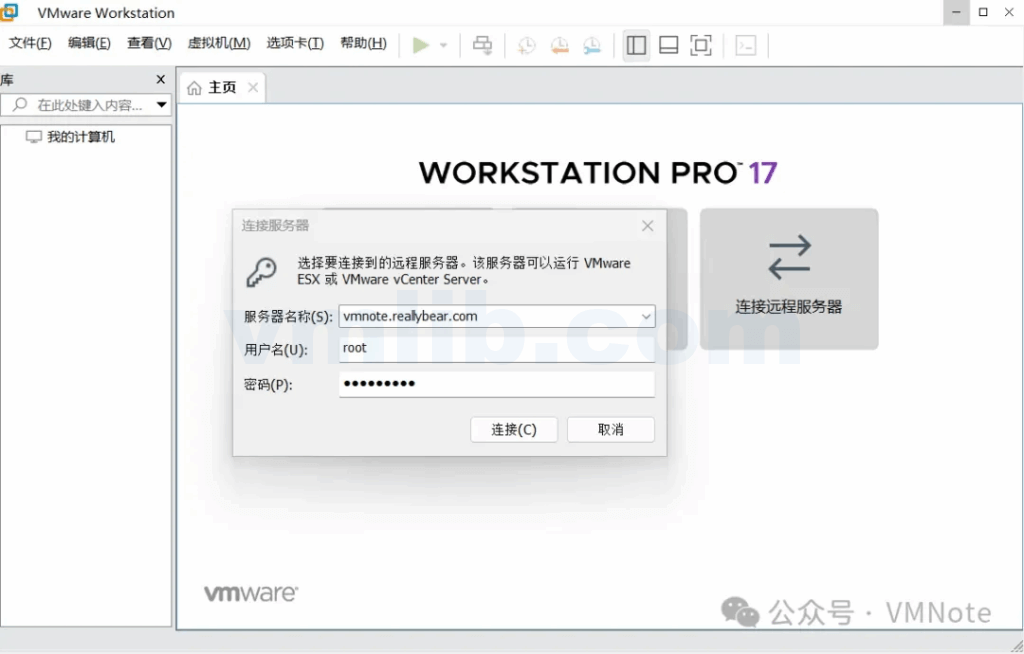
Step 3: In the pop-up Connect to Server window, enter the domain name or IP address of the remote ESXi host or vCenter Server. Then enter the administrator credentials and click Connect.
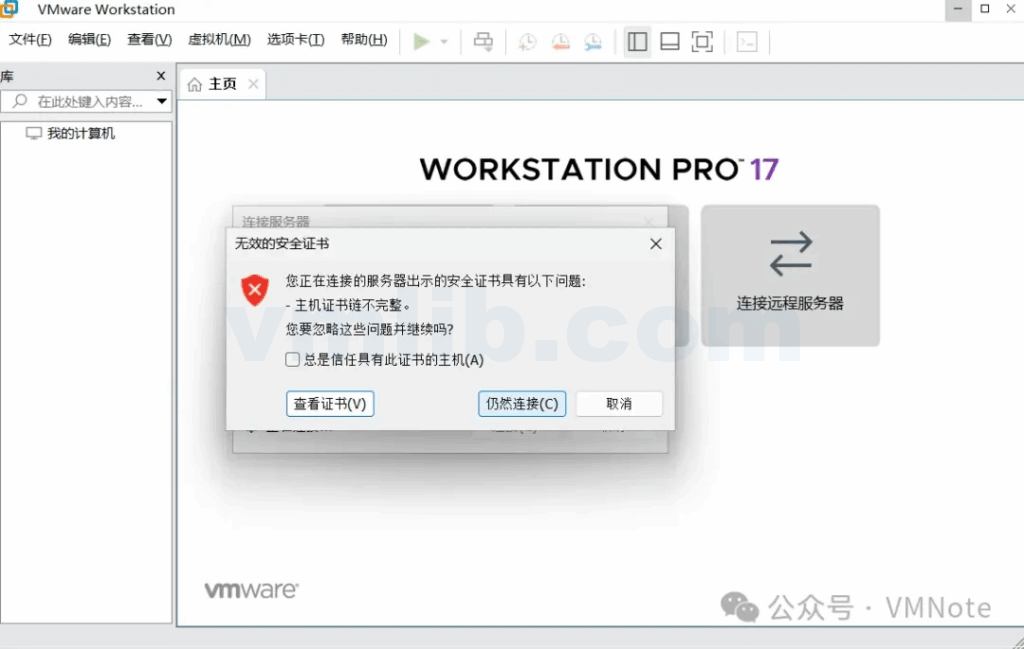
Step 4: If a security certificate warning pops up, click Connect Anyway.
Step 5: In the Remember Login Information dialog, choose whether to save the login info based on your needs.
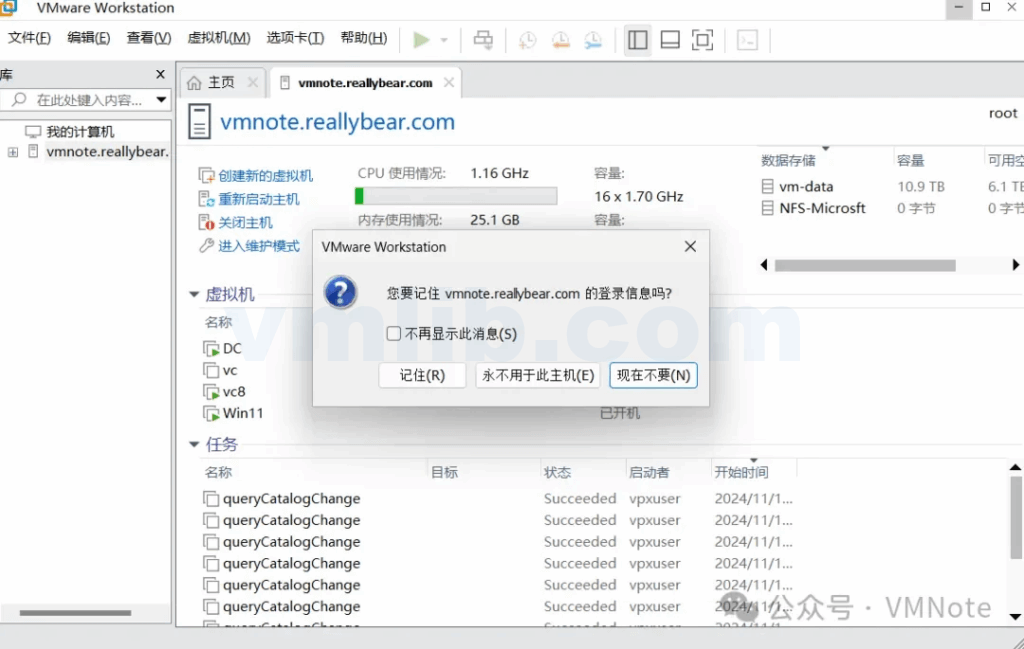
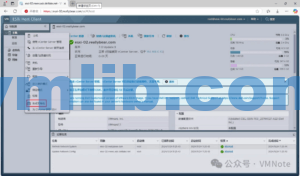
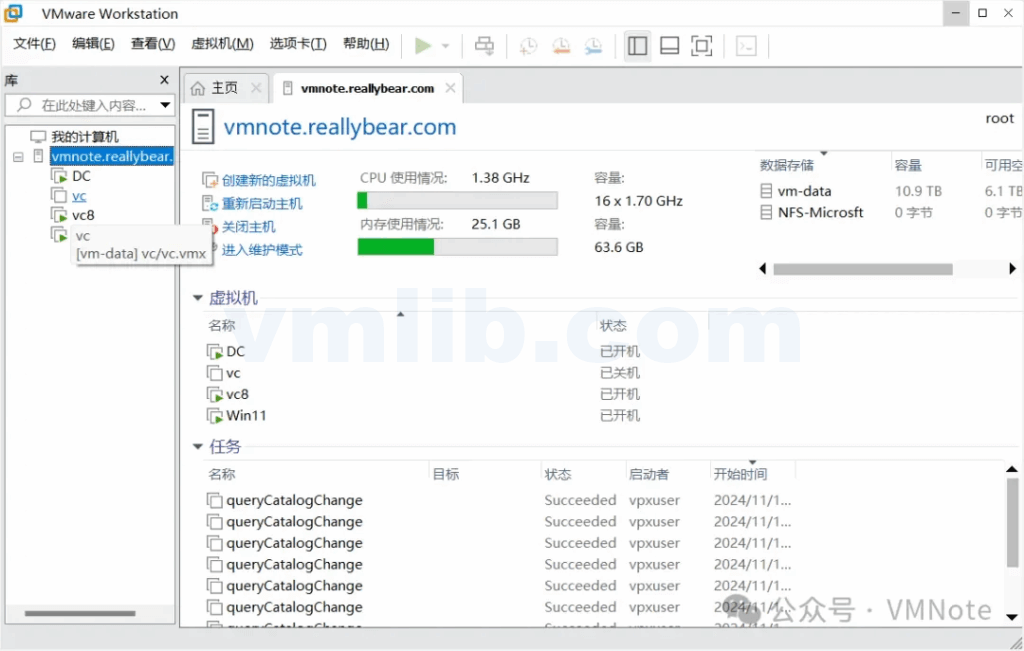
Step 6: Confirm that the left-hand panel in VMware Workstation now lists all virtual machines on the remote ESXi host.
Migrate a Virtual Machine from ESXi to Workstation
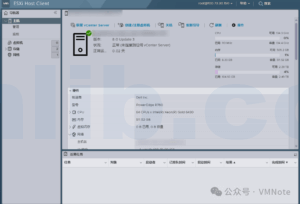
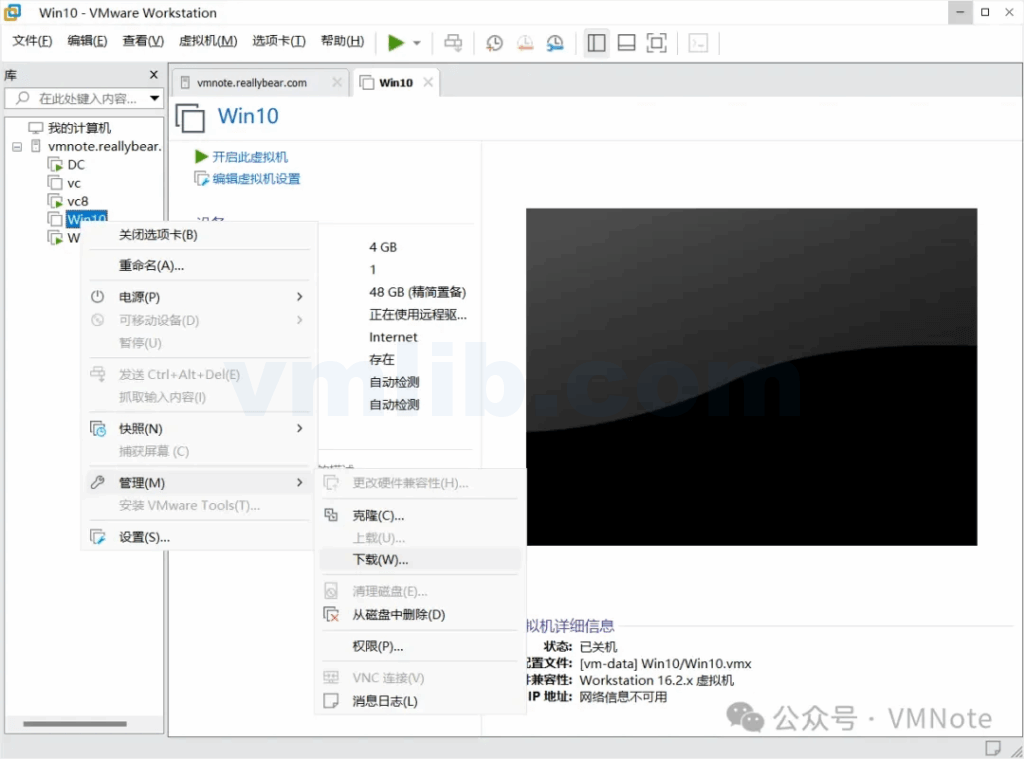
Step 1: In the virtual machine list under the ESXi host name, locate the VM you want to migrate and make sure it is powered off.

Step 2: Right-click the VM, then choose Manage -> Download.
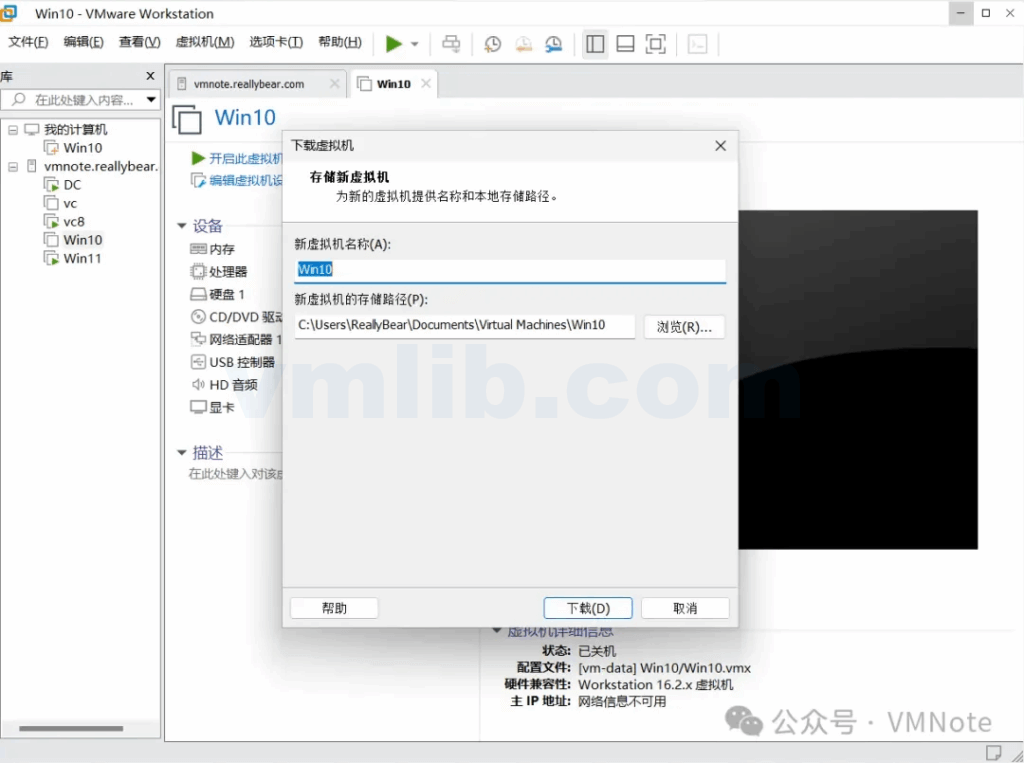
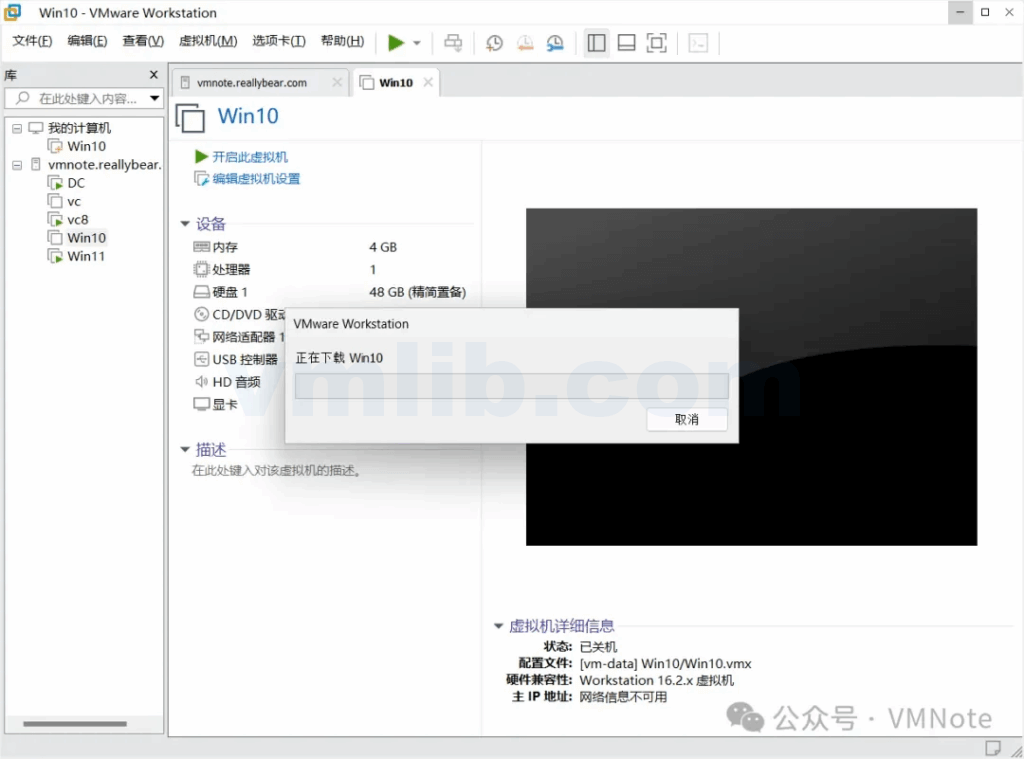
Step 3: In the Download Virtual Machine window, optionally rename the VM and choose a save path, then click Download.
Step 4: Confirm that the download process has started.
Note: The download speed depends on the VM file size and network speed.
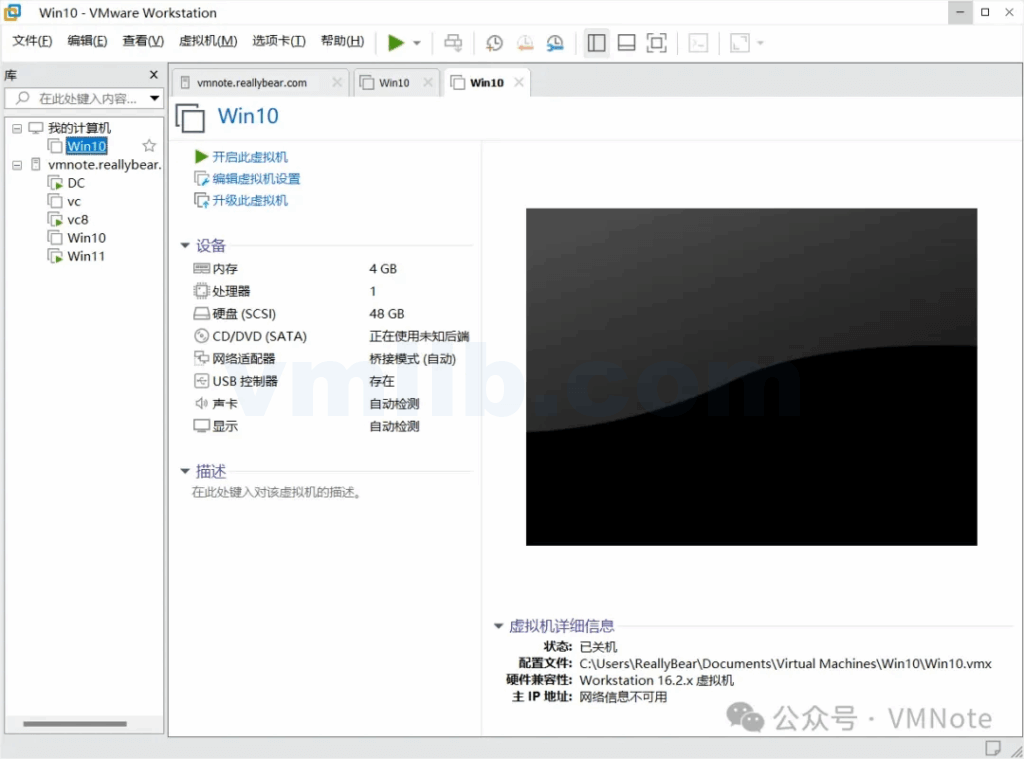
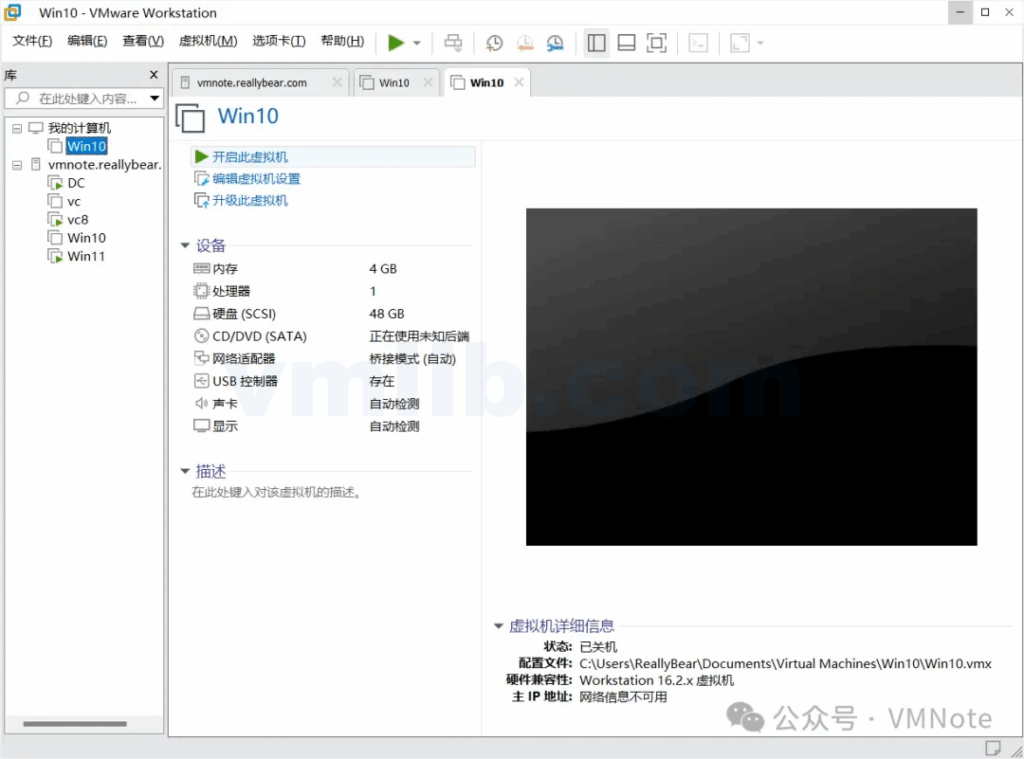
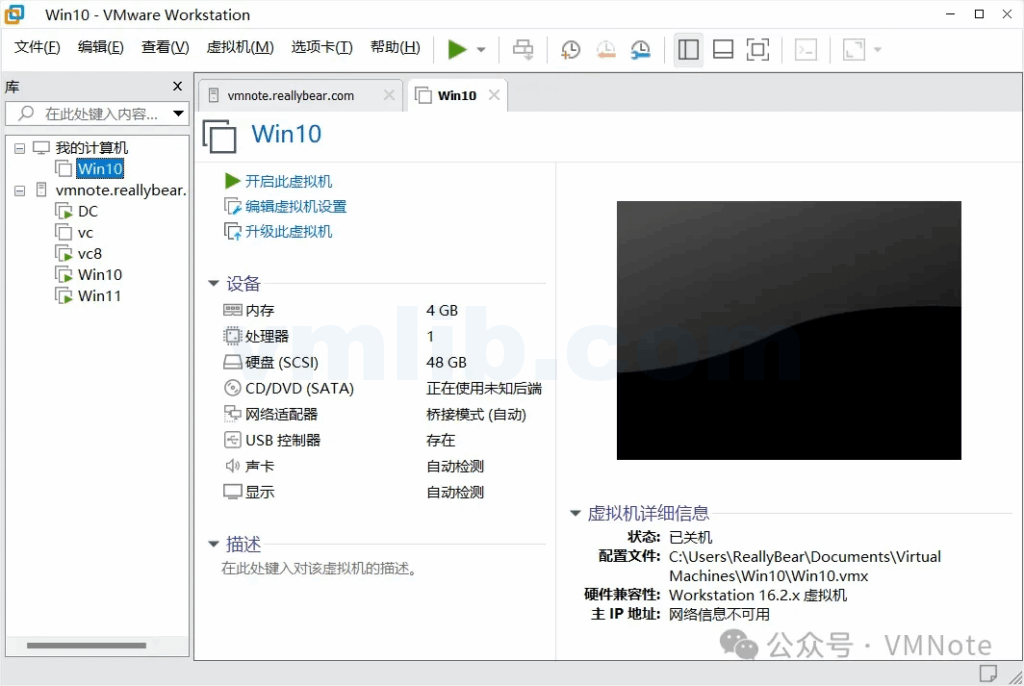
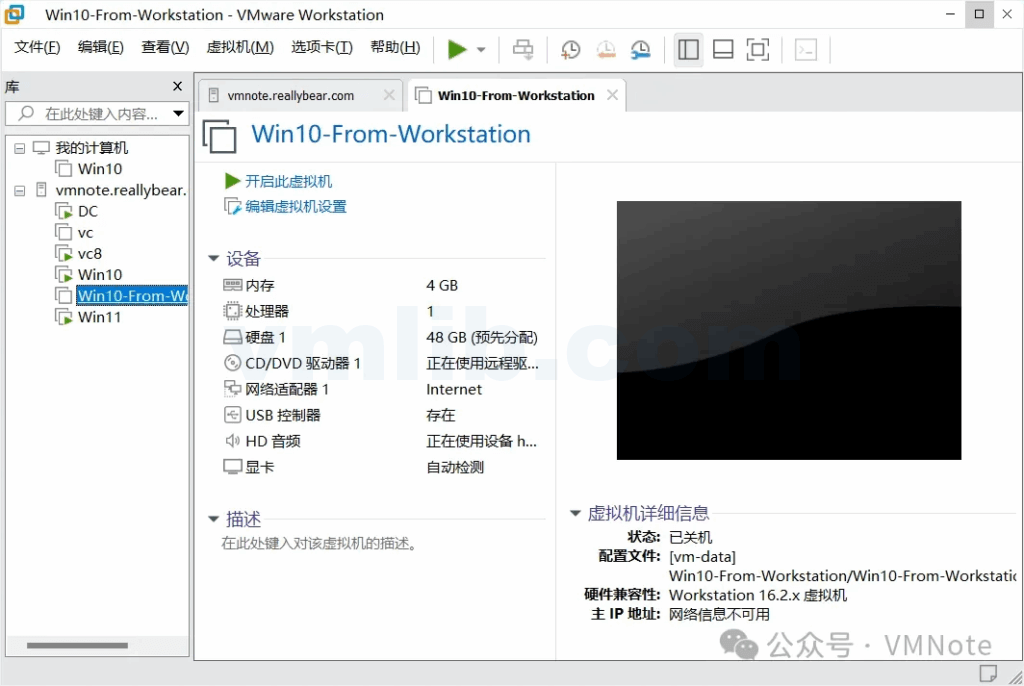
Step 5: Verify that the VM download has completed and the VM now appears in the local VM list of Workstation.
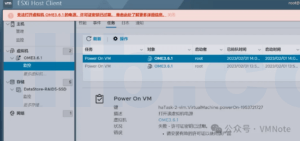
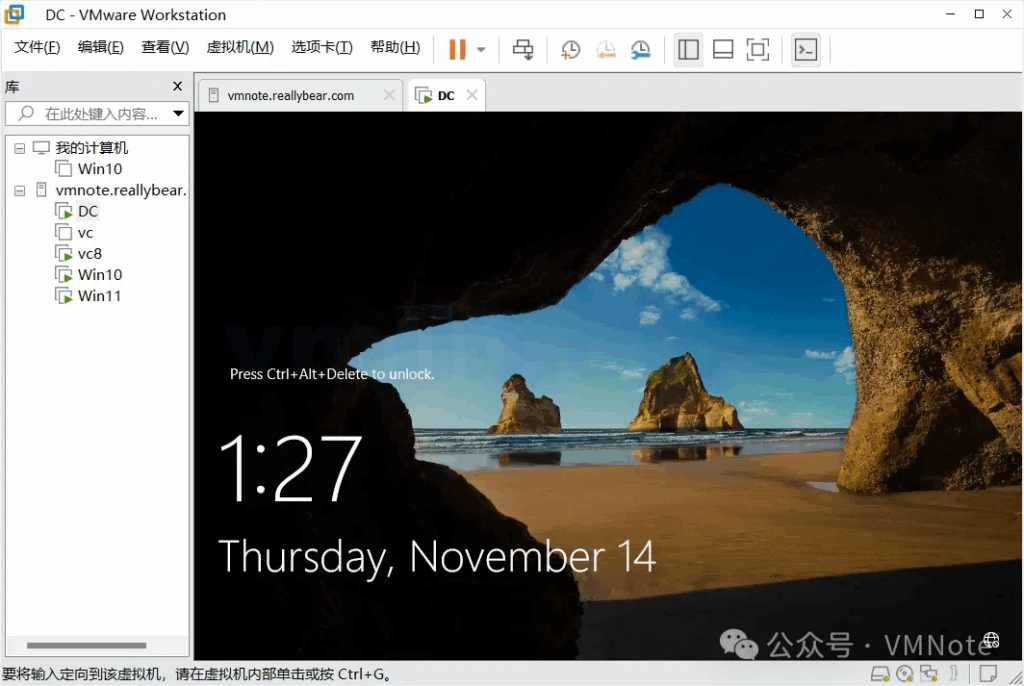
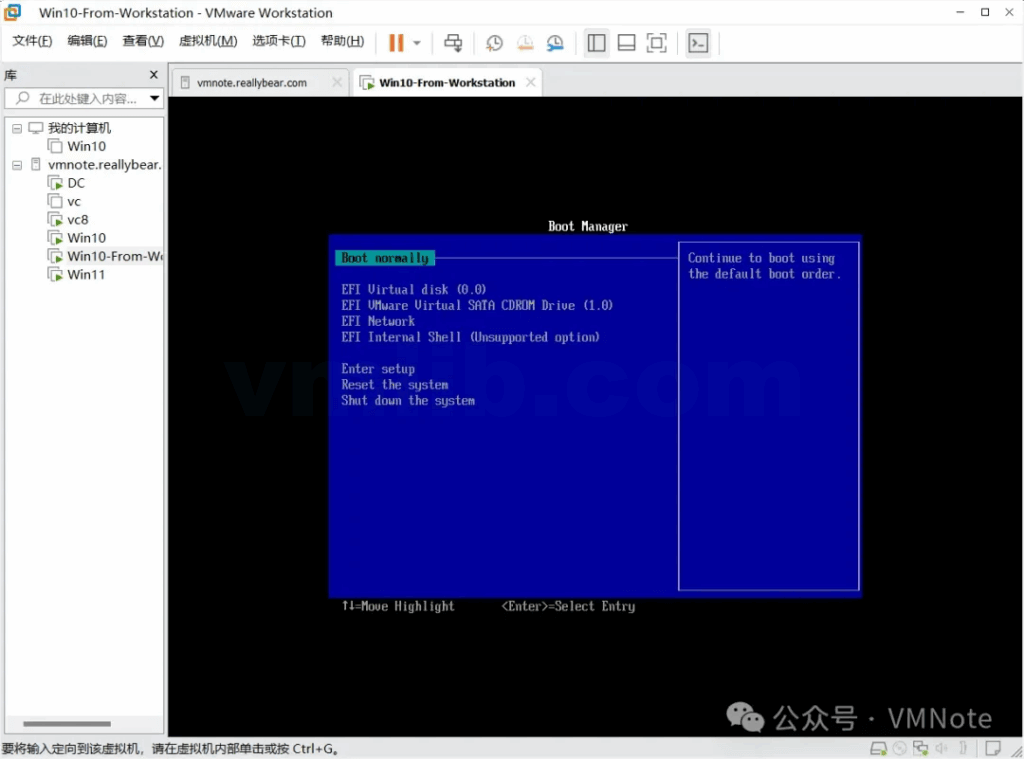
Step 6: Power on the VM to confirm it starts successfully.

Upload a Virtual Machine from Workstation to ESXi
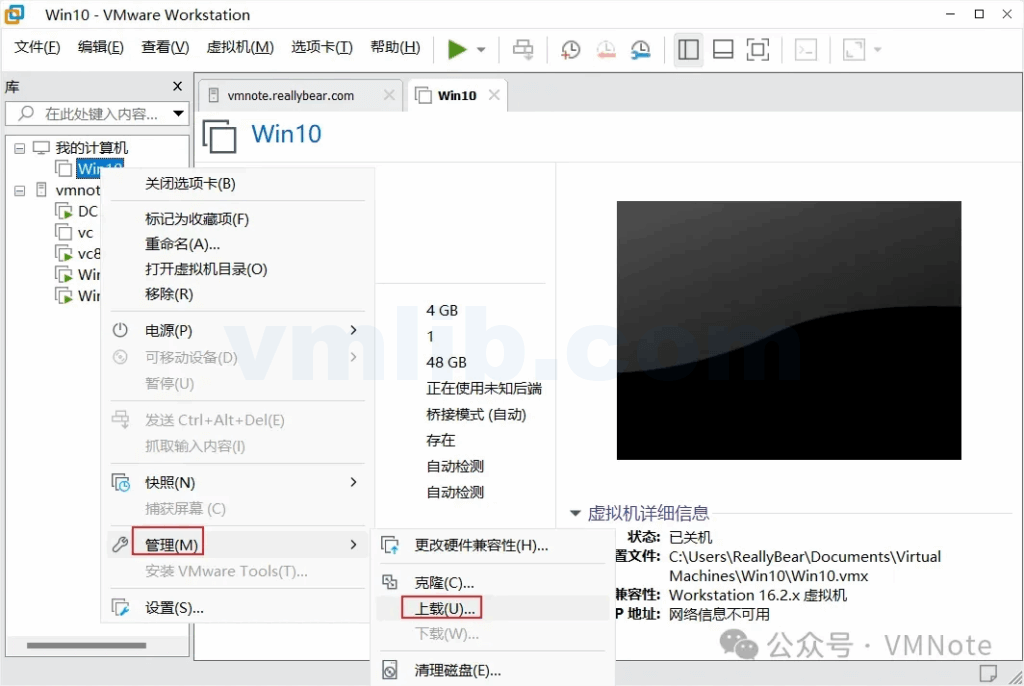
Step 1: Locate the VM in Workstation that you want to upload to ESXi and ensure it is powered off.
Step 2: Right-click the VM and choose Manage -> Upload.
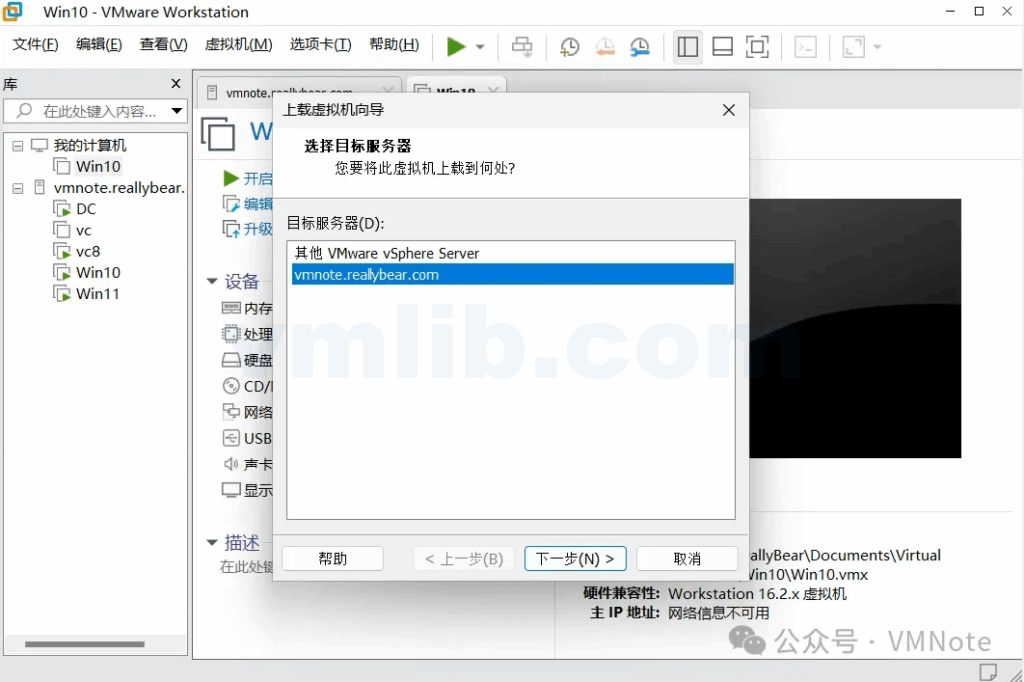
Step 3: In the Destination Server window, enter the ESXi host’s domain name or IP address, then click Next.
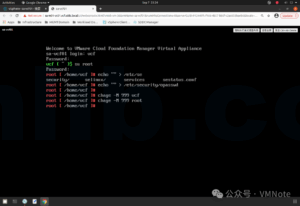
Note: If the ESXi host is managed by a vCenter Server, you must enter the vCenter Server’s domain or IP address to upload successfully. See the FAQ section below for details.
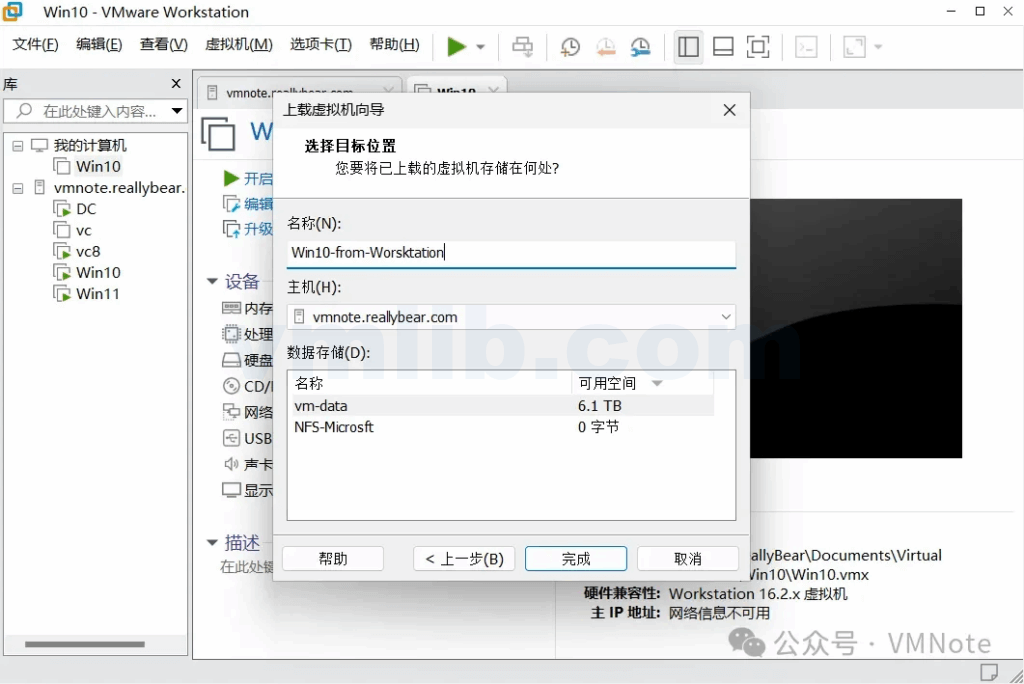
Step 4: In the Select Storage Location window, choose where to place the virtual machine, then click Finish.
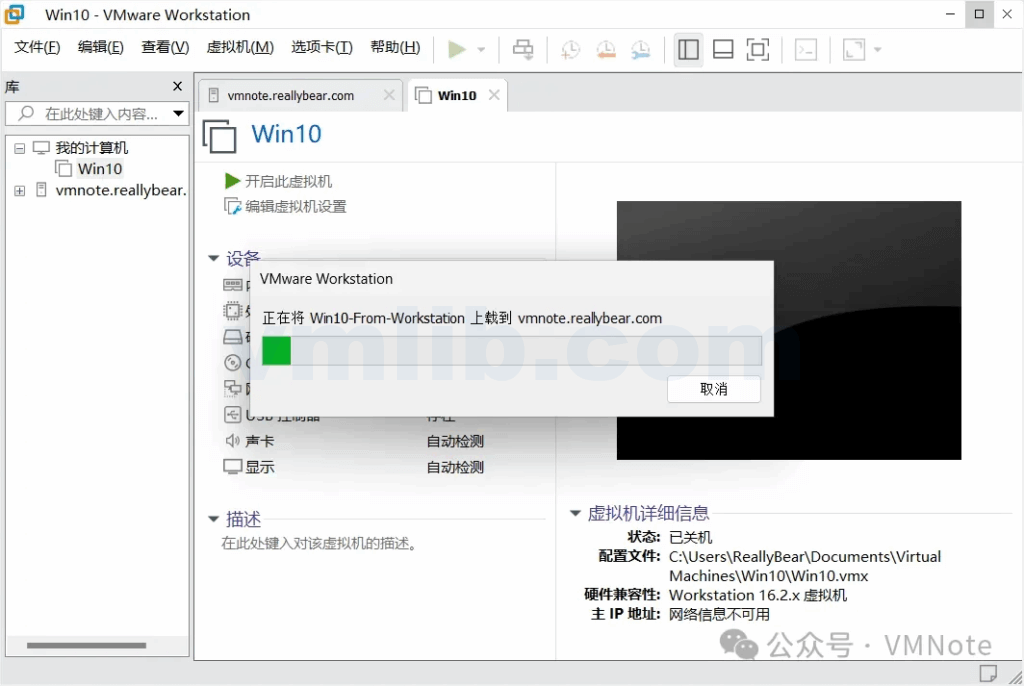
Step 5: Confirm that the upload process has started.
Note: The upload speed depends on the VM file size and network speed.
Step 6: Verify that the VM upload is complete and the VM appears in the virtual machine list on the ESXi host.
Step 7: Power on the VM to confirm it starts successfully.
Frequently Asked Questions
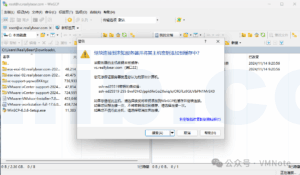
Q1: An error appears when uploading a VM from Workstation to ESXi:
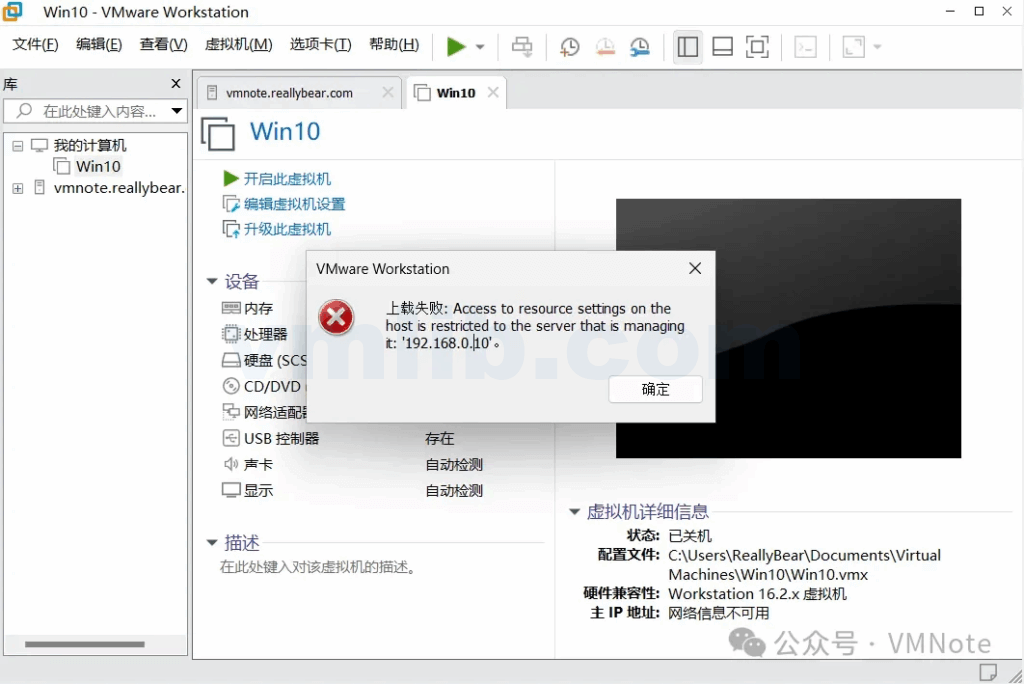
Root Cause: The ESXi host is managed by vCenter Server and does not allow direct uploads.
Solution: Connect to the vCenter Server and upload the VM through it.
Whether you’re migrating virtual machines between VMware Workstation and ESXi, or managing them centrally via vCenter Server, mastering these techniques can greatly improve your operational efficiency. The detailed steps and solutions in this article will help you complete your VM migration tasks smoothly and ensure the stable operation of your virtualization environment. By applying these methods, you can manage VM resources more flexibly and optimize your IT infrastructure’s maintenance and operations.


 VM技术助理