
This article explains how to use WinSCP to connect to the VMware vCenter Server Appliance so you can upload and download files.
(This article is approximately 580 words and takes about 3 minutes to read)
I. Download and Install WinSCP
Step 1: Visit the official WinSCP website and download the software
Step 2: Install WinSCP
II. Connect to vCenter Server with WinSCP
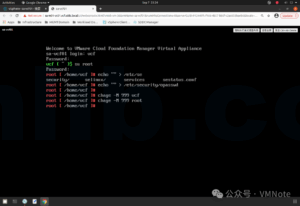
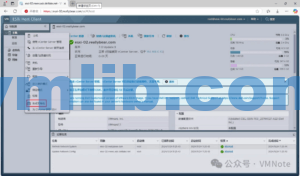
Step 1: Enable SSH on vCenter Server and access the command line.

Step 2: Run the following command to change the root account shell from Appliance Shell to the standard Bash shell
chsh -s /bin/bash root
Step 3: Launch WinSCP, enter the vCenter hostname or IP address, and log in using the root credentials
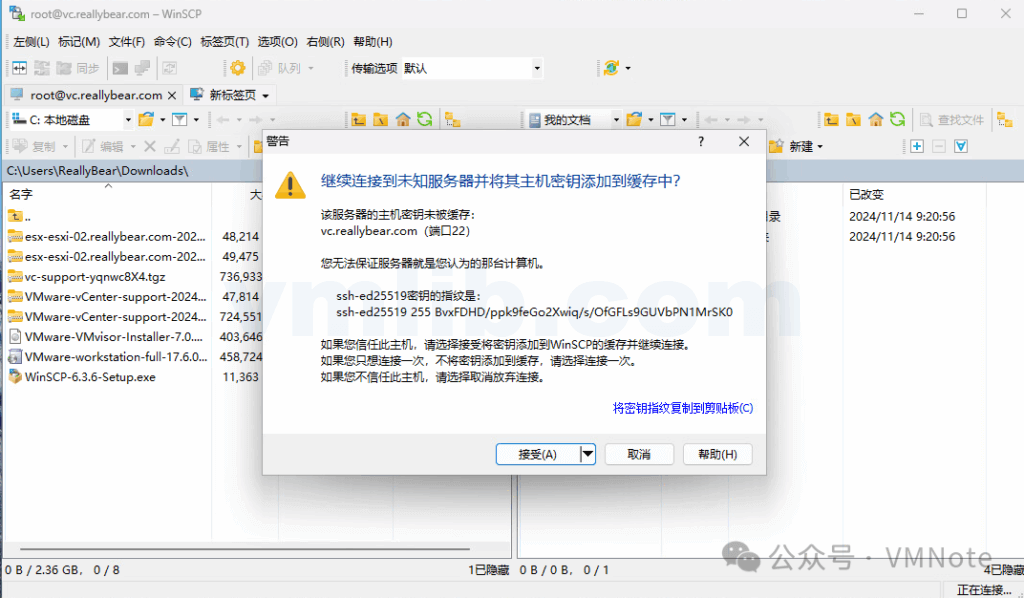
Step 4: When prompted with the host trust warning, click Accept
Step 5: After a successful login, the right pane will display the vCenter Server file system. By default, you’ll land in the root home directory, /root/
III. Download Files from vCenter Server Using WinSCP
Step 1: In the right pane, locate the file you want to download
Step 2: Select the file and drag it to the left pane
Step 3: Wait for the transfer to complete
Step 4: Open your local file browser to verify the file
IV. Upload Files to vCenter Server Using WinSCP
Step 1: In the left pane, locate the file you want to upload
Step 2: In the right pane, confirm the destination path
Step 3: Drag the file from the left pane to the desired location on the right
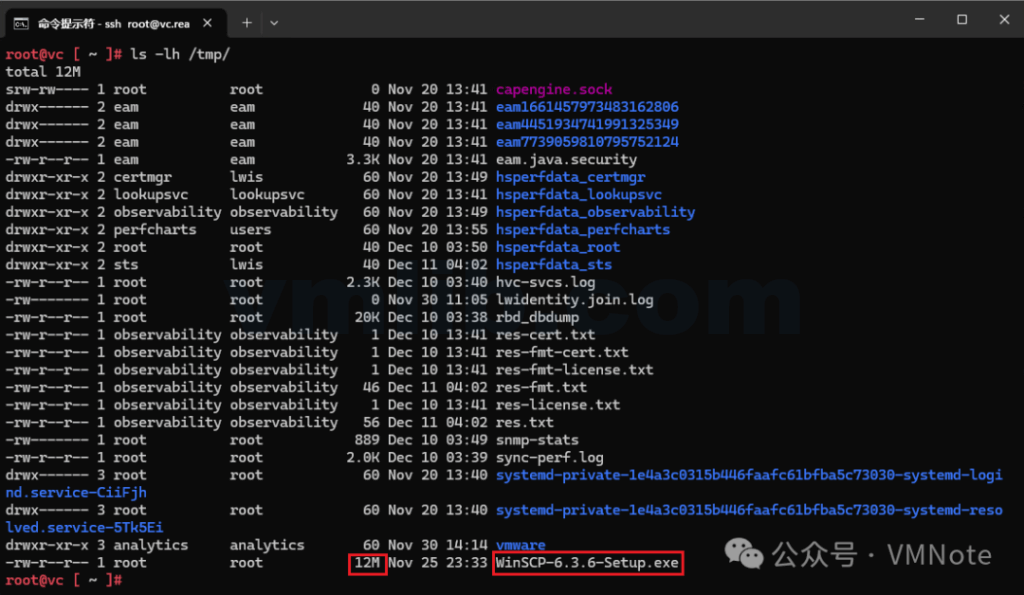
Step 4: Run the following command to verify the upload was successful
ls -lh
V. Notes and Best Practices
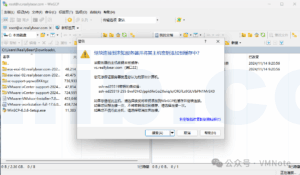
- If you do not change the root account shell type, WinSCP connections to vCenter Server may fail with the following error:
“Received too large SFTP packet. Max supported packet size is 1024000 B”
- Always verify file size after uploading to or downloading from vCenter Server—especially for large files. This helps avoid corrupted or incomplete transfers. For example, while troubleshooting a vCenter issue, a script uploaded from a KB kept failing. After spending significant time debugging, it turned out the uploaded file size was 0 KB.
This guide walks through using WinSCP to transfer files to and from the vCenter Server Appliance, covers common connection errors, and provides file integrity tips. It’s ideal for administrators who need to manually upload scripts, export logs, or perform file operations. For more vCenter management tips and VMware tutorials, check out the rest of our articles.


 VM技术助理